Team Briley
An Epic Adventurer
The Cystic Fibrosis Foundation
I simply cannot imagine what this family is going through. To be told that your child is life threateningly ill, that there are thing that can be done for her, that her life span is barely the age you are now (or not quite, or less than... depending on where you are on your journey.) But, how can I not do what I can to help?
One thing that I am doing is sewing and selling. Today, I made a Kindle cover that will be sold and the money sent in to support the climb and CF foundation. And here, I will show you the process that went into it, so that if you need a cover for your Kindle (or other tablet), it isn't such a mystery how to make a cute, customized cover.
Here it is! This is my first ever tutorial, and I didn't follow any pattern or directions, so bear with me, and feel free to ask any questions you may have!
I started by measuring my Kindle... My children think that my cutting mat is a drawing board, so it is a little decorated. However, since I can still see the numbers, it works just fine for me. :)
My Kindle measures 4 3/4 inches by 6 3/4 inches, and is about 1/2 inch thick.
Knowing this allows me to do some math. Not my most favorite either, but here goes:
To find out how long I needed to cut the inner and outer pieces for the cover I added the 4 3/4" width x2 (9 1/2") + the thickness (1/2") + additional length to keep the edge of the Kindle from sticking out the open side (1") + 3/8" seam allowance x2 (3/4") for a total of 11 3/4".
The height is calculated by adding the height of the Kindle (6 3/4") + additional height (1") + 3/8" seam allowance x2 (3/4") for a total of 8 1/2".
First, you want to iron the material you are using. These two are pieces I bought at JoAnn's a while ago, and never used. Just a lightweight cotton. I am using the red as my main outside piece, and for the inner pocket to hold the Kindle, and the blue as the outside contrast/binding and the inside lining.
Time to cut! You will want to cut
-one 11 3/4" x 8 3/4" rectangle out of each of the red and blue. I like to lay the two together when I cut, as they will come out exactly the same size then. These become the inner and outer layers of the cover
Out of the red, you will also need
-two rectangles 5 3/4" x 8. (Pocket backing)
-One rectangle 3 1/2" x 14" (Pocket corners)
Out of the blue, you will also need
-one rectangle 4 1/2" x 8 1/2" (Binding, optional)
Out of a sheet of plastic or cardboard, you will need to cut 2 rectangles 5 1/2" x 7 1/2". If you are using cardboard, I would recommend covering it with book tape or duct tape, to help keep it more sturdy and wet proof.
You will also need a length of 1/4" ribbon, 24" long and a 1" button.
On the wrong side of the binding, measure and mark 1/2" on the long sides.
Fold the fabric to the line you marked and iron the fold.
Fold both your outside piece and your binding piece in half, and iron the folds. This makes it much easier to line up the centers, so the binding is centered on the cover. :)
I missed a picture here, but open the fold of your binding, and lay the fold of your outer cover in the fold. Pin in place, and stitch down 1/4 inch from the binding fold.
Beautiful!
Decide on which side will be the front cover. Sew on your button, about in the middle, and 1" from the outer edge. You want to make sure that you aren't so close to the outer edge that the button interfers with the seam allowance. Once the button is on, the outer part of the cover is finished. Set it aside.
Assemblig the pocket:
Take your 3 1/2"x14" strip, and fold it in half, with the right side out. Iron the crease. Fold it in half, matching the short ends up, and iron this crease. Repeat, so you have four sections between folds. Cut on the folds so you have four equal pieces.
To lay the pieces on the corners, measure in 2 1/4" from each corner on the short sides, and up or down 2 1/2" from each corner on the long sides. These marks will becme the guides for placing your pocket corners.
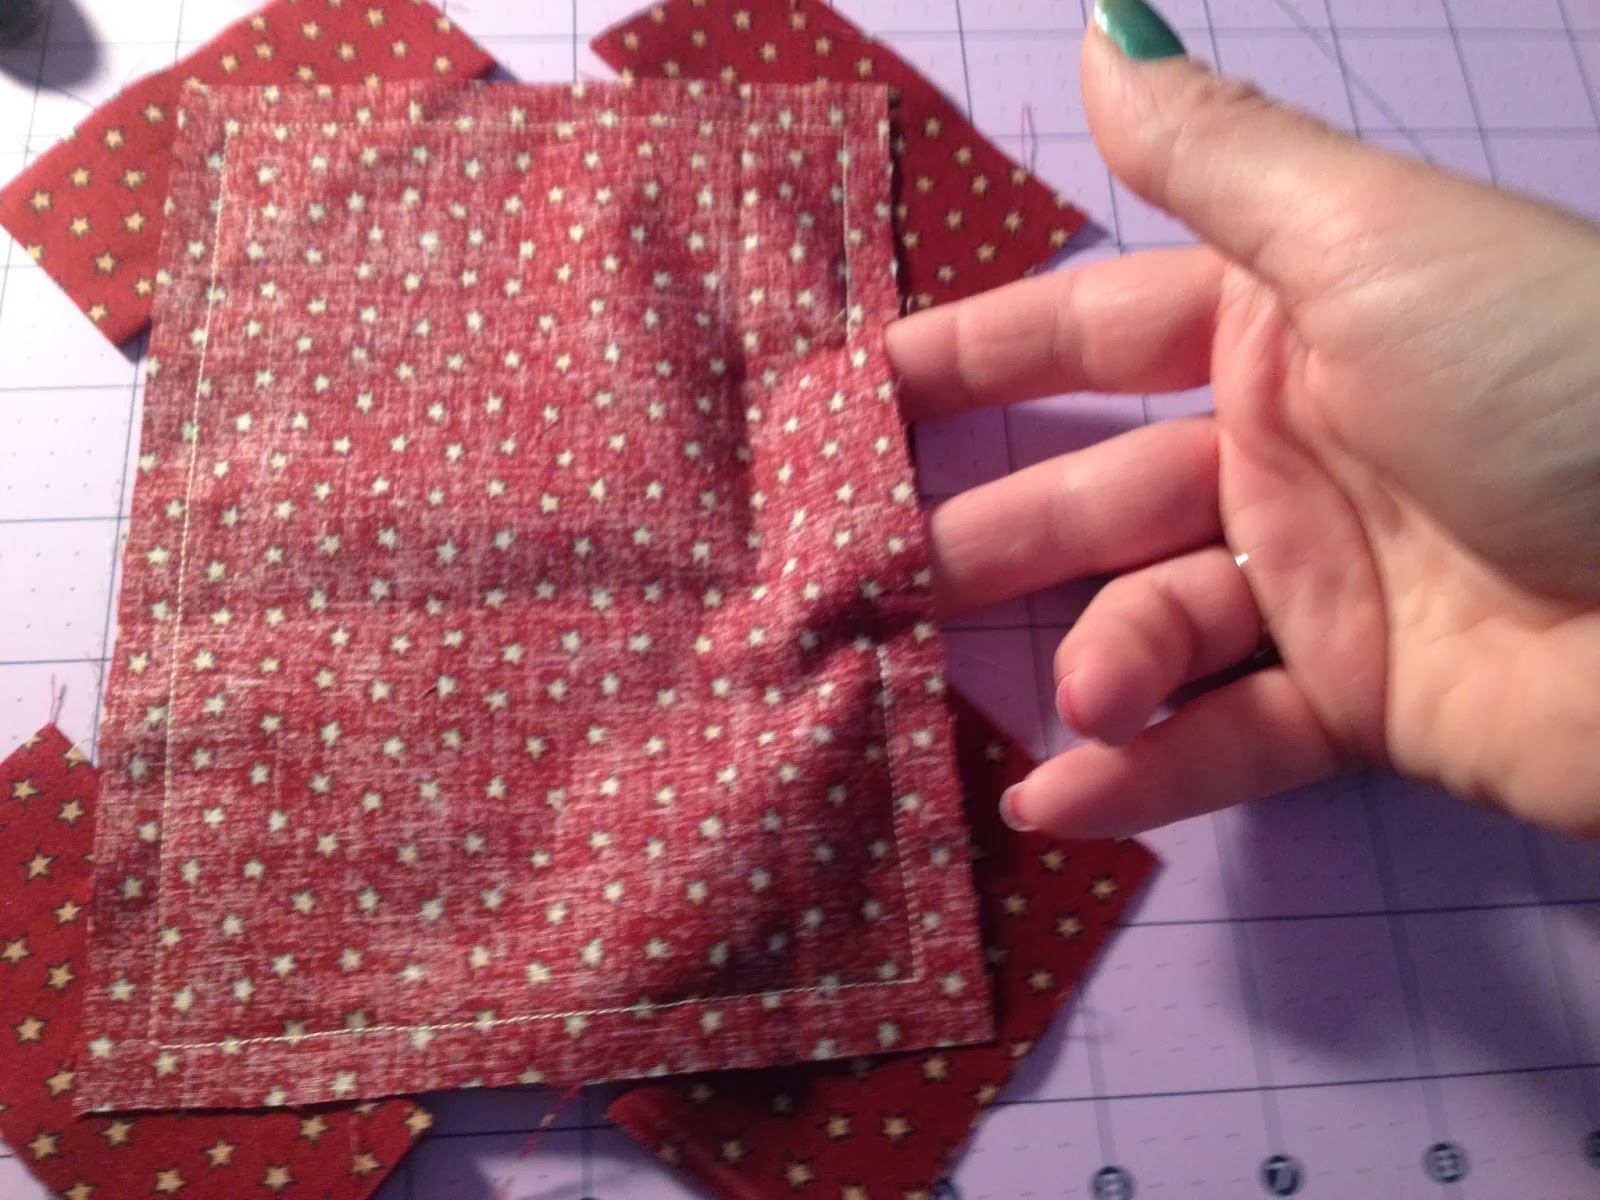
Lay one folded piece, with the fold toward the center of the pocket on each corner. The corners of the backing pieces should overhang the folded strips just a little bit. Pin in place carefully.
Lay the second backing piece face down on top of the first. Pin.
Sew around all the edges, leaving a space between the corner pockets on one long side to turn it. It is much easier to turn from the side than the end. :)
Cut off all the extra corner pocket pieces, and trim the extra fabric on the corners. This will let you have nicer, less bulky corners. Use a crochet hook, or similar tool, to gently turn the corners. Press, making sure to tuck the seam allowance on the opening under.
Tuck your tablet into the pocket to ensure a good and at least slightly snug fit. You don't want it to fall out of the pocket. If it is too loose, you can turn it inside out again, and sew a new seam just inside the first one. Don't go in too far, or you will make your corner pockets too small.
Fold your inner cover piece in half, right sides together, and iron the fold. Open, and lay your pocket on the side of the fold that will be the back cover. You want to be just a bit to the left of center, because you have to leave room for your seam allowance. Pin and sew close to the edges of your pocket, closing up the opening you left to turn your pocket right side out.
When you get to the corners, stitch a bit under the corner pocket, and then diagonally across to the next side.
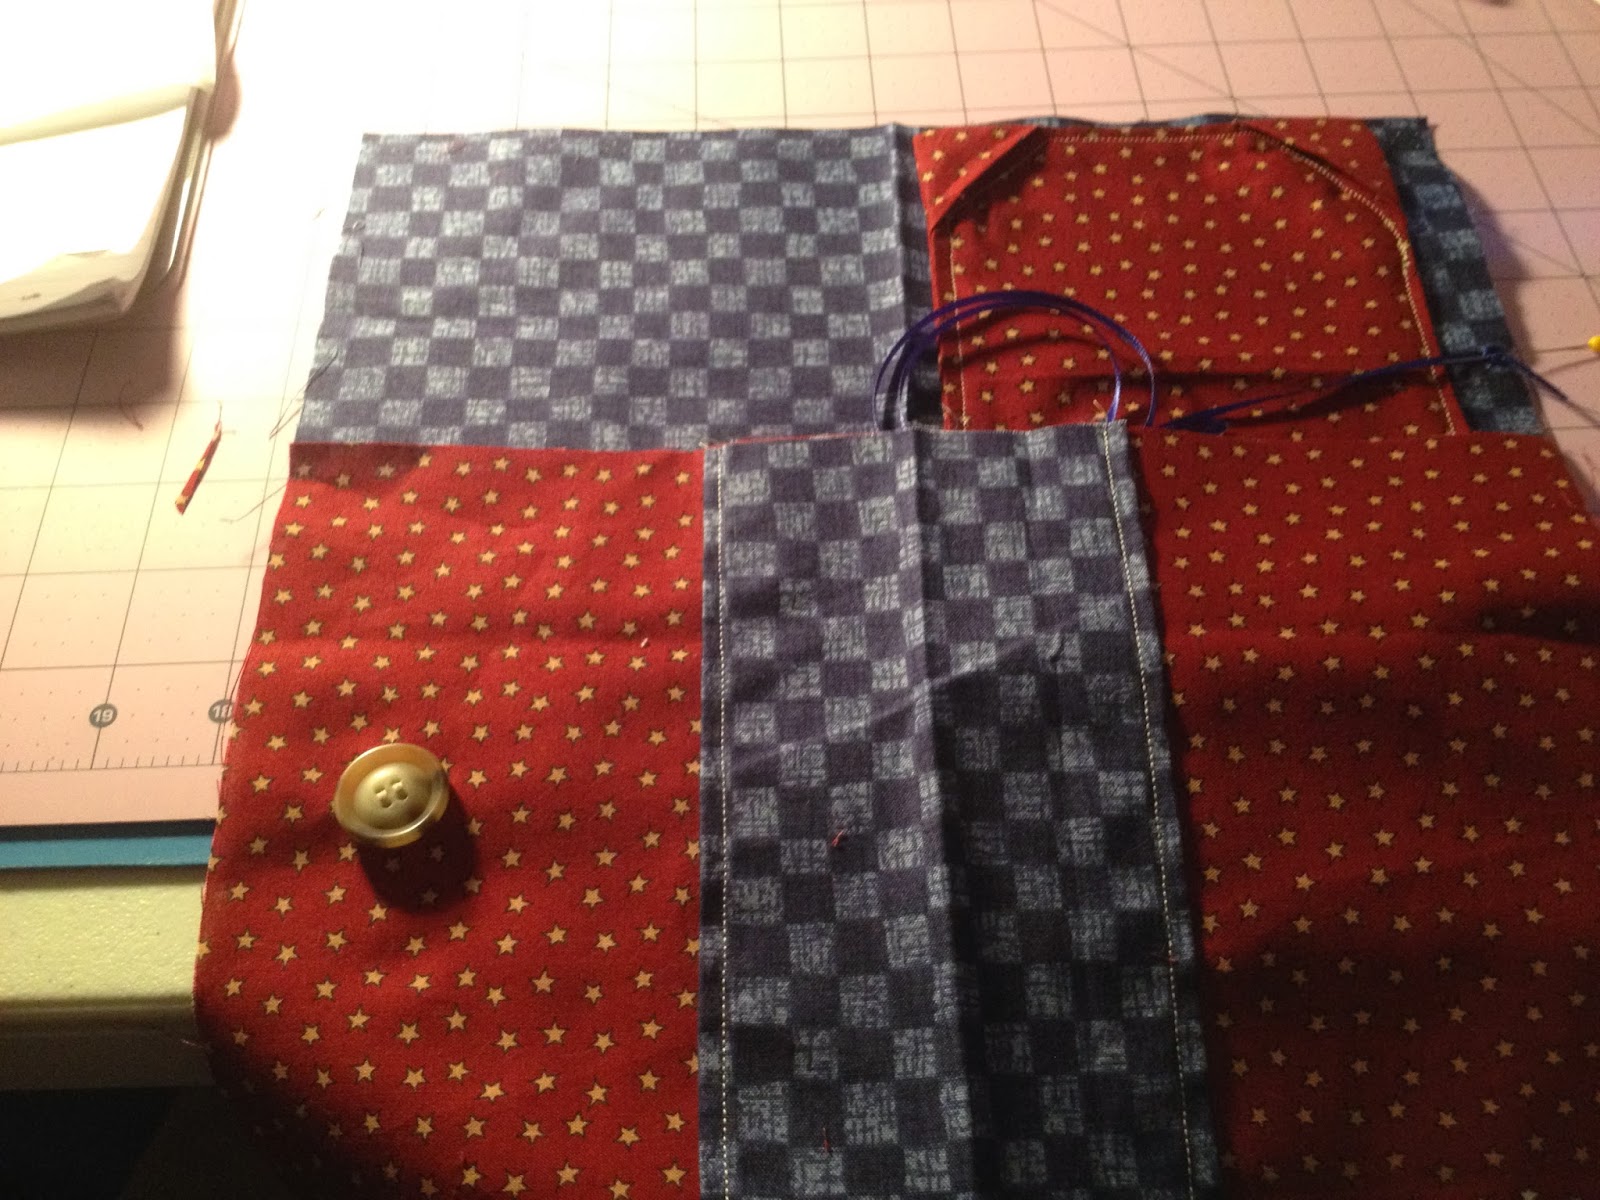
Tie a loose knot in one end of your ribbon and pin it on the seam next to the middle of your pocket. Loop up the rest of the ribbon, and pin it on the middle of the pocket to keep it out of the way when you are sewing the next seam.
Lay the cover pieces together, so that the button is on the opposite end from where you pinned the ribbon. I have both pieces face up here to show directionality, but you want to make sure that the pieces are facing before you sew.
Sew around both short ends, and one long side, leaving the opposite long side completely open. Clip the corners, and turn right side out. Choose a decoratve stitch, and sew a 1/2" seam down the folds in the middle, separating the front and back covers, and creating a spine. Press the whole cover, being careful of the butotn.
Time to slide the panels in. Put one in each side, making sure that you have the most wet proof side to the outside. This will significantly lessen the damage if liquid gets on the cover. Trim the end or side as needed to ensure a snug, yet easy, fit.
Fold the open ends in, keeping them snug to the panels. Sew 1/4" from the edge all the way around.
Insert your device, and you are ready to rock!
The cover pictured here is for sale to benefit Team Briley and the Cystic Fibrosis Fund. I am taking a limited number of orders. If you would like one, they will be $20.00 + shipping. Contact me at wonderingmomma@outlook.com for more information.


No comments:
Post a Comment